Mastering Time Blocking: Take Control of Your Productivity and Achieve Your Goals
Exclusive Resource for you!
Grab your free time-blocking e-book at the end of this post (includes printables!!). Click to take you there.
Time is our most precious resource, yet it often seems like there’s never enough of it. We’re constantly bombarded with distractions and interruptions that make it challenging to stay focused and get things done. That’s where time blocking comes in – it’s a powerful productivity technique that can help you take control of your time and use it more effectively. In this post, we’ll explore what time blocking is, how it works, and how to use it to achieve your goals and make the most of your time.

What is time blocking?
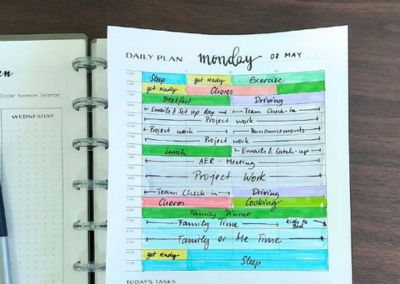
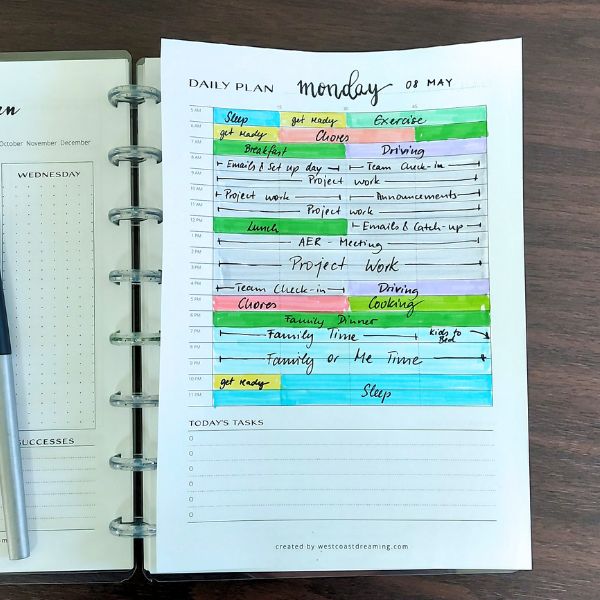
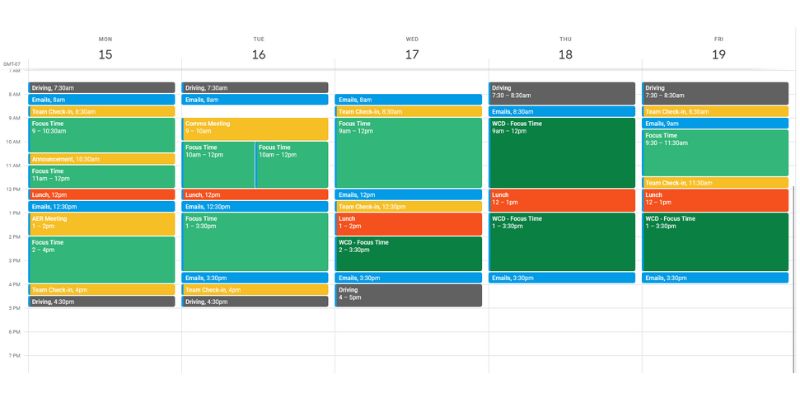
Time blocking is a technique that involves dividing your day into blocks of time and assigning specific tasks or activities to each block. By doing this, you can create a schedule tailored to your needs and priorities and ensure you’re using your time in the most productive way possible.
Why use time blocking?
There are many benefits to using this technique, including increased productivity, reduced stress, and improved work-life balance. Dividing your daily schedule into blocks of time can also help you prioritize your tasks, minimize distractions, and spend your time on the things that matter most to you.
How to get started
Getting started is easy – all you need is a calendar or planner and a willingness to experiment and adjust your schedule as needed. If you want to make the most of your time, this method can be an incredibly effective strategy. First, set clear goals for yourself. This will give you a sense of direction and purpose and help you stay focused throughout the day. Next, identify your priorities so you know which tasks to tackle first. Finally, breaking your day into manageable time blocks of 15, 30 or 60 minutes can help you stay organized and on track. This allows you to work efficiently and avoid distractions, ultimately leading to greater productivity and success.
Tips for successful time blocking
While time blocking can be a powerful productivity tool, it does require some discipline and effort to make it work effectively. Effective time management requires setting achievable goals, being adaptable, and utilizing helpful software and tools to improve organizational skills. By implementing these key strategies, you can optimize your time management and quickly achieve your objectives. In addition, remember to prioritize tasks, take breaks when needed, and be flexible in adjusting your schedule. With these tips, you’ll be well on your way to mastering the art of time blocking and achieving success in your daily tasks.
Common challenges and how to overcome them
Like any productivity technique, time blocking can have its challenges. Interruptions and distractions can quickly derail your schedule, making it difficult to stay on track. Be gentle with yourself, and remember to recognize that you are human and working on your goals and develop strategies to overcome your obstacles. One approach is scheduling time for interruptions and distractions, allowing you to address them without sacrificing productivity. Another method is eliminating or minimizing distractions by turning off notifications or finding a quiet workspace.
It is also common to underestimate the time it needs to complete a task. You’ll get better at estimating how long tasks take over time, but until you’ve honed your instincts, err on the side of blocking off too much time rather than too little. Instead, pad your schedule with extra time to complete and transition between tasks. You can even create “conditional blocks” of time you can tap into if you fall behind.
Try these tools
Find out how long it takes you to complete your tasks by tracking them with RescueTime or Toggl. Over time, this will improve your sense of much much time you should budget for in your daily or weekly plan.
By proactively addressing these challenges, you can maximize your time and stay focused on your goals.
Advanced time-blocking techniques
Once you’ve mastered the basics of time blocking, you can take your productivity to the next level. One such technique is “batching,” where you group similar tasks and complete them all at once. Another technique is “theme days,” where you assign specific themes to each day of the week and only work on tasks related to that theme on that day. These advanced techniques can help you stay focused and maximize your productivity, ultimately leading to greater success in both your personal and professional life.
Software and tools to improve your time-blocking skills
Various software and tools available can help with time blocking and organizational skills. One popular option is Trello, which allows users to create visual task boards and organize their to-do lists by priority and deadline. Another helpful tool is RescueTime, which tracks how much time you spend on various tasks and can help users identify areas where they may need to improve their time management. Additionally, apps like Focus@Will and Freedom can help eliminate distractions and enhance focus during designated time blocks. Ultimately, the best software and tools for time blocking will depend on individual preferences and needs, but these options are a great place to start.
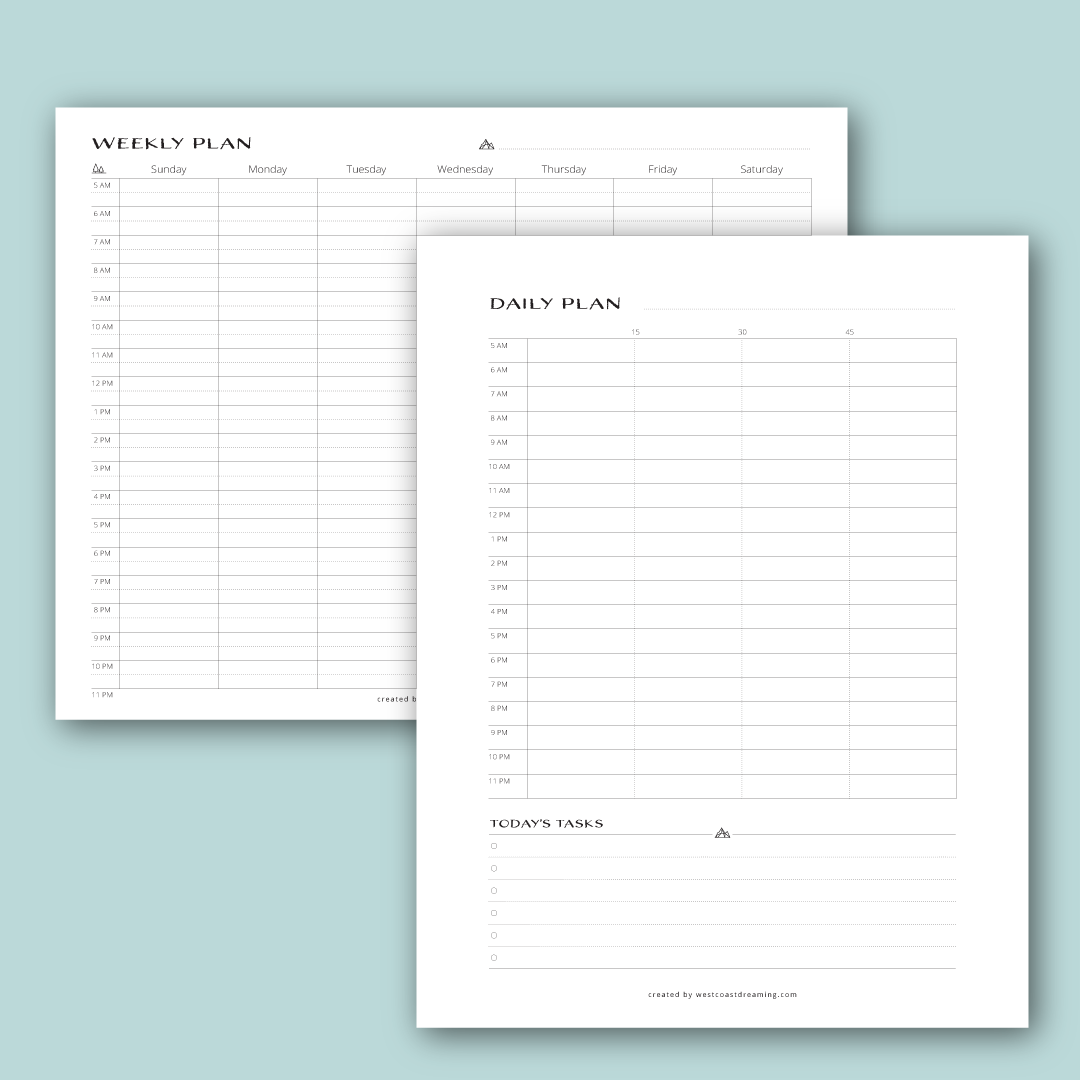
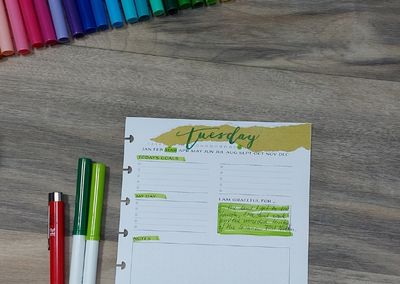
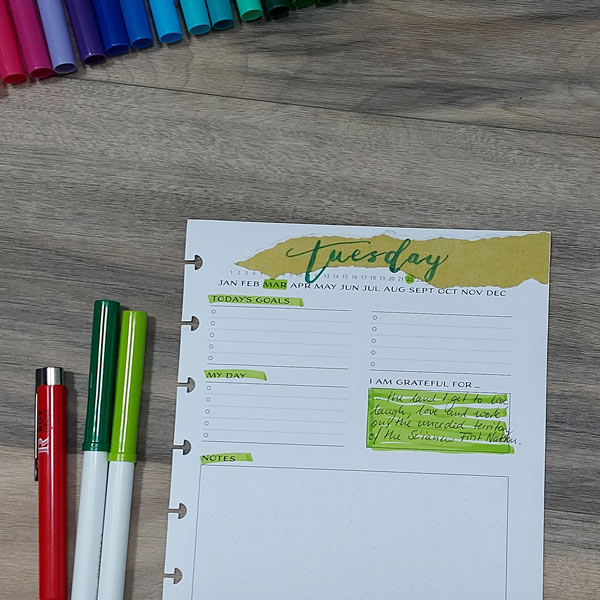
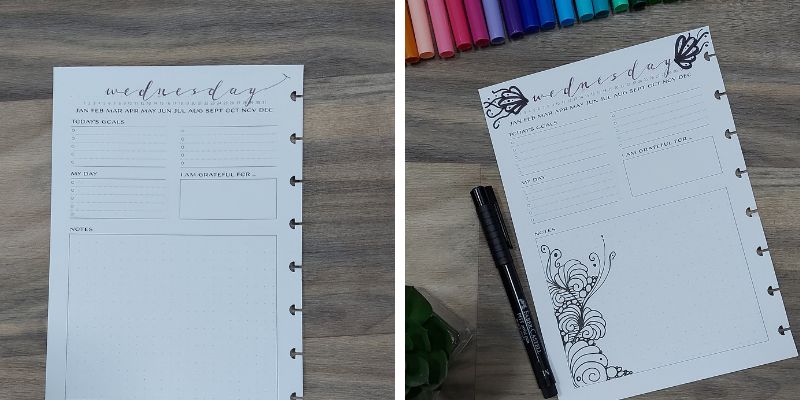
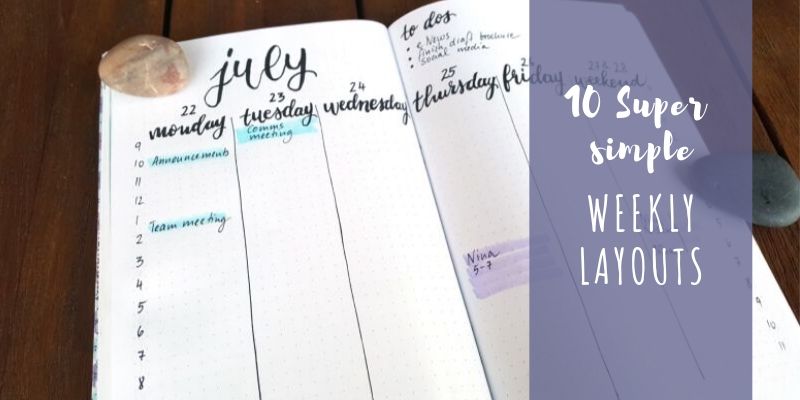
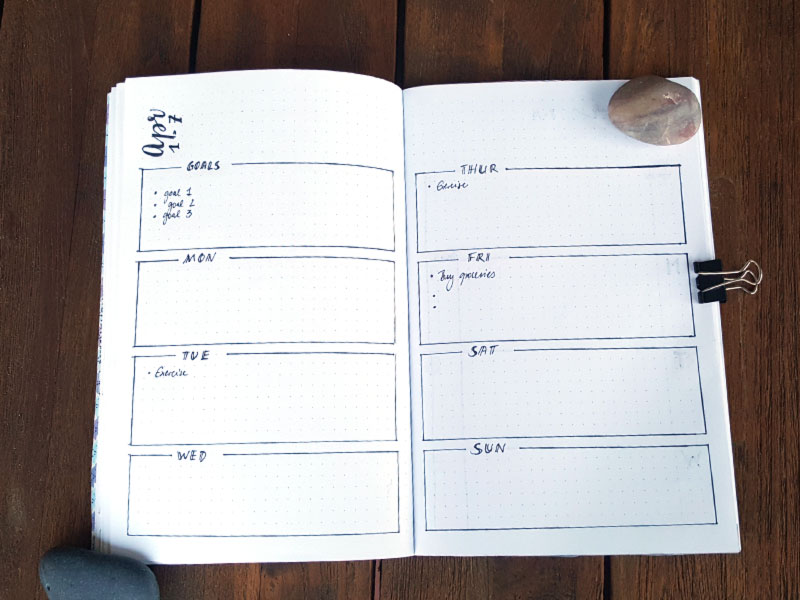
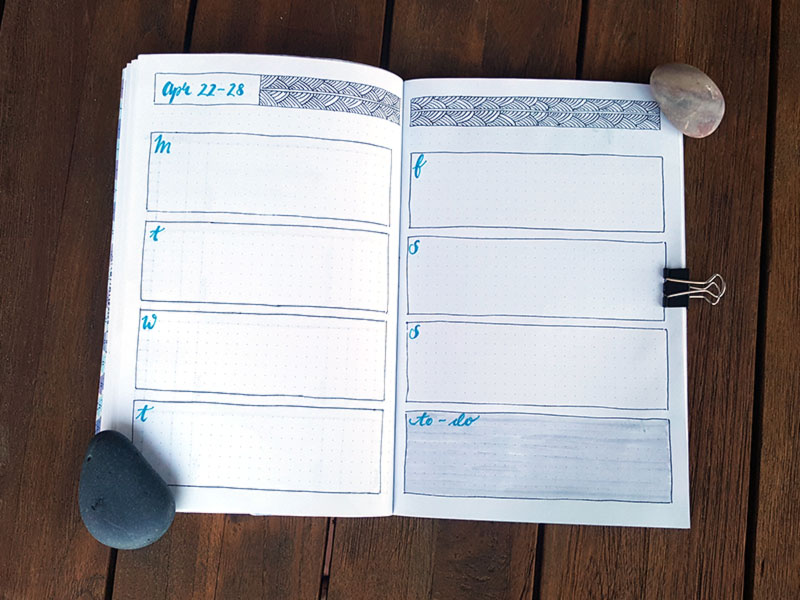
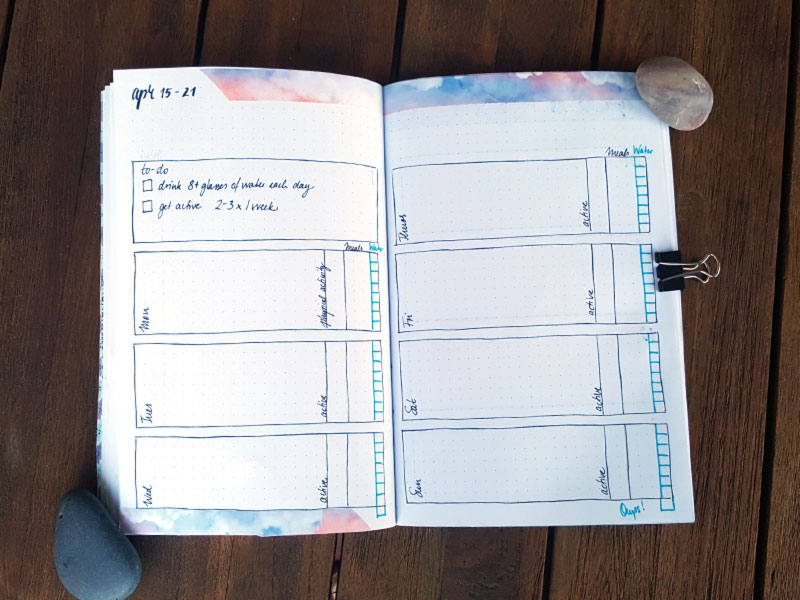
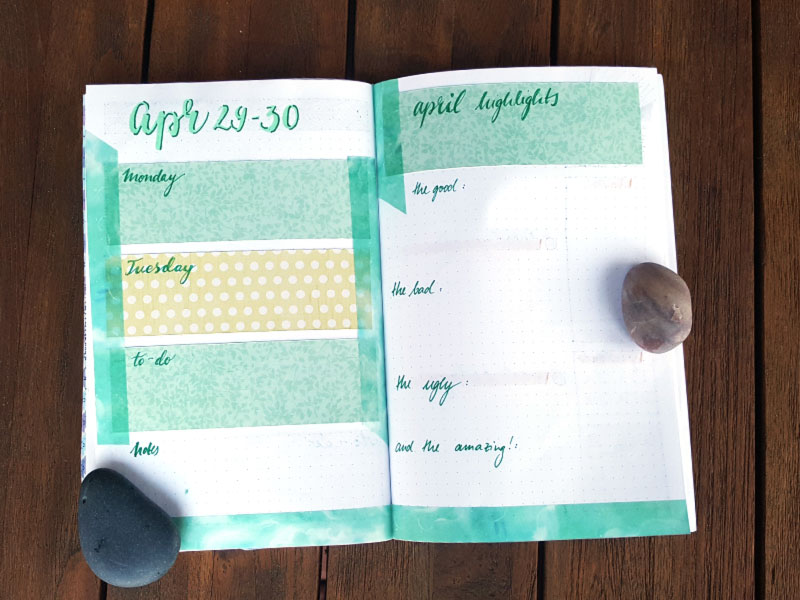
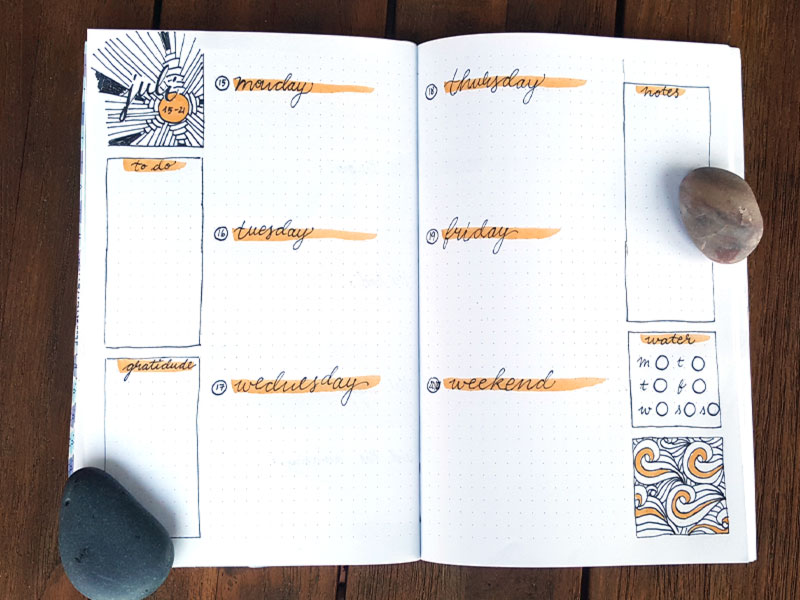
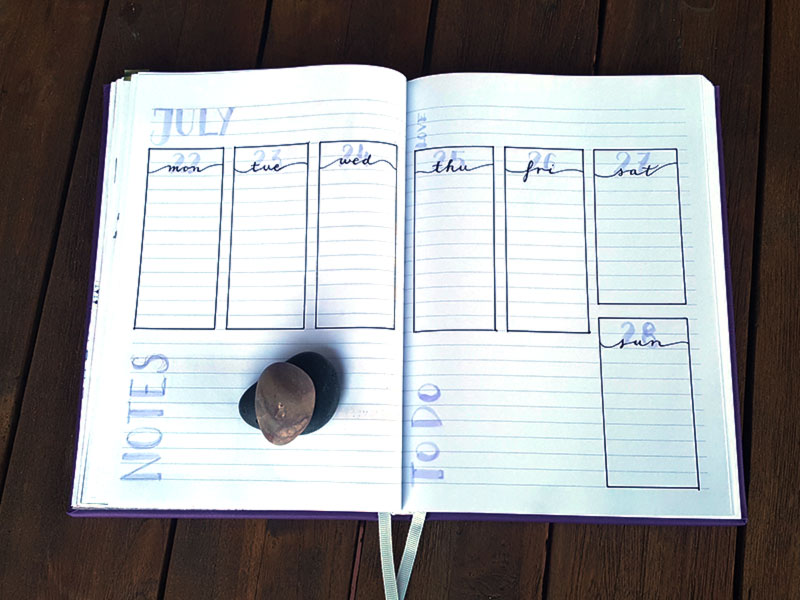
In addition to digital tools, planners and journals are popular choices for many people who prefer to have a physical record of their tasks and appointments. By writing down assignments and deadlines, users can better visualize their schedules and prioritize accordingly. Some people also find that physically writing down tasks can help them commit them to memory more effectively. Additionally, using coloured pens or stickers can help make the planner or journal more visually appealing and engaging. Ultimately, whether someone prefers digital or non-digital tools depends on their preferences and habits.
How long does it typically take to see the benefits?
The time it takes to see the benefits of time blocking can vary depending on several factors, including your current habits, the complexity of your tasks, and how effectively you implement the technique. However, with consistent practice and proper implementation, you can begin to experience the benefits of time blocking within a few weeks or even sooner. The process involves an initial adjustment period, followed by increased awareness and focus, improved productivity and time management, enhanced work-life balance and reduced stress. It’s important to note that individual experiences may vary, and consistency and perseverance are essential to fully realizing the benefits of time blocking.
Conclusion
Time blocking is a powerful tool that can help you take control of your time and achieve your goals. By following the tips and strategies outlined in this post, you can create a schedule that works for you and make the most of every minute of your day. So what are you waiting for? Start time blocking today and see the difference it can make in your life!


 What you will need: